

Hello Everybody!
This is my first time writing a blog for Itsy Bitsy so let me introduce myself to you all first.
My name is Meghavi Sharma and I am the Founder of Studio Modah
Maker is the word that describes me the best….I am obsessed with creating.
Apart from stuff a graphic designer, I am into paper, textile, decorations, malleate and functional crafting 
Now lets get crafting!
Today we will be making a XOXO hanging with my Cricut Maker 3! So lets us begin!
Materials needed:
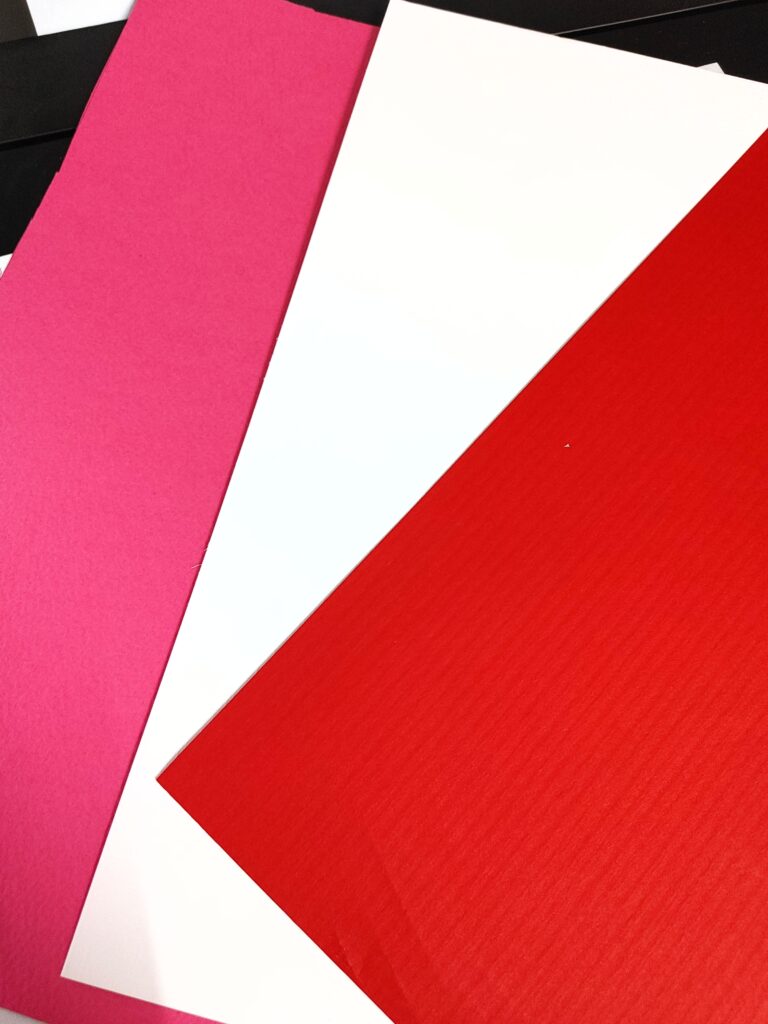
1. Cardstock in Red, Pink and White
2. Glue
3. Double sided foam tape
4. A rope or a thin and long bamboo skewer
5. Wool/Thread (optional)
Step 1: Open Diamond space on your computer and click on Images

Step 2: Select the project you like and add to Canvas.
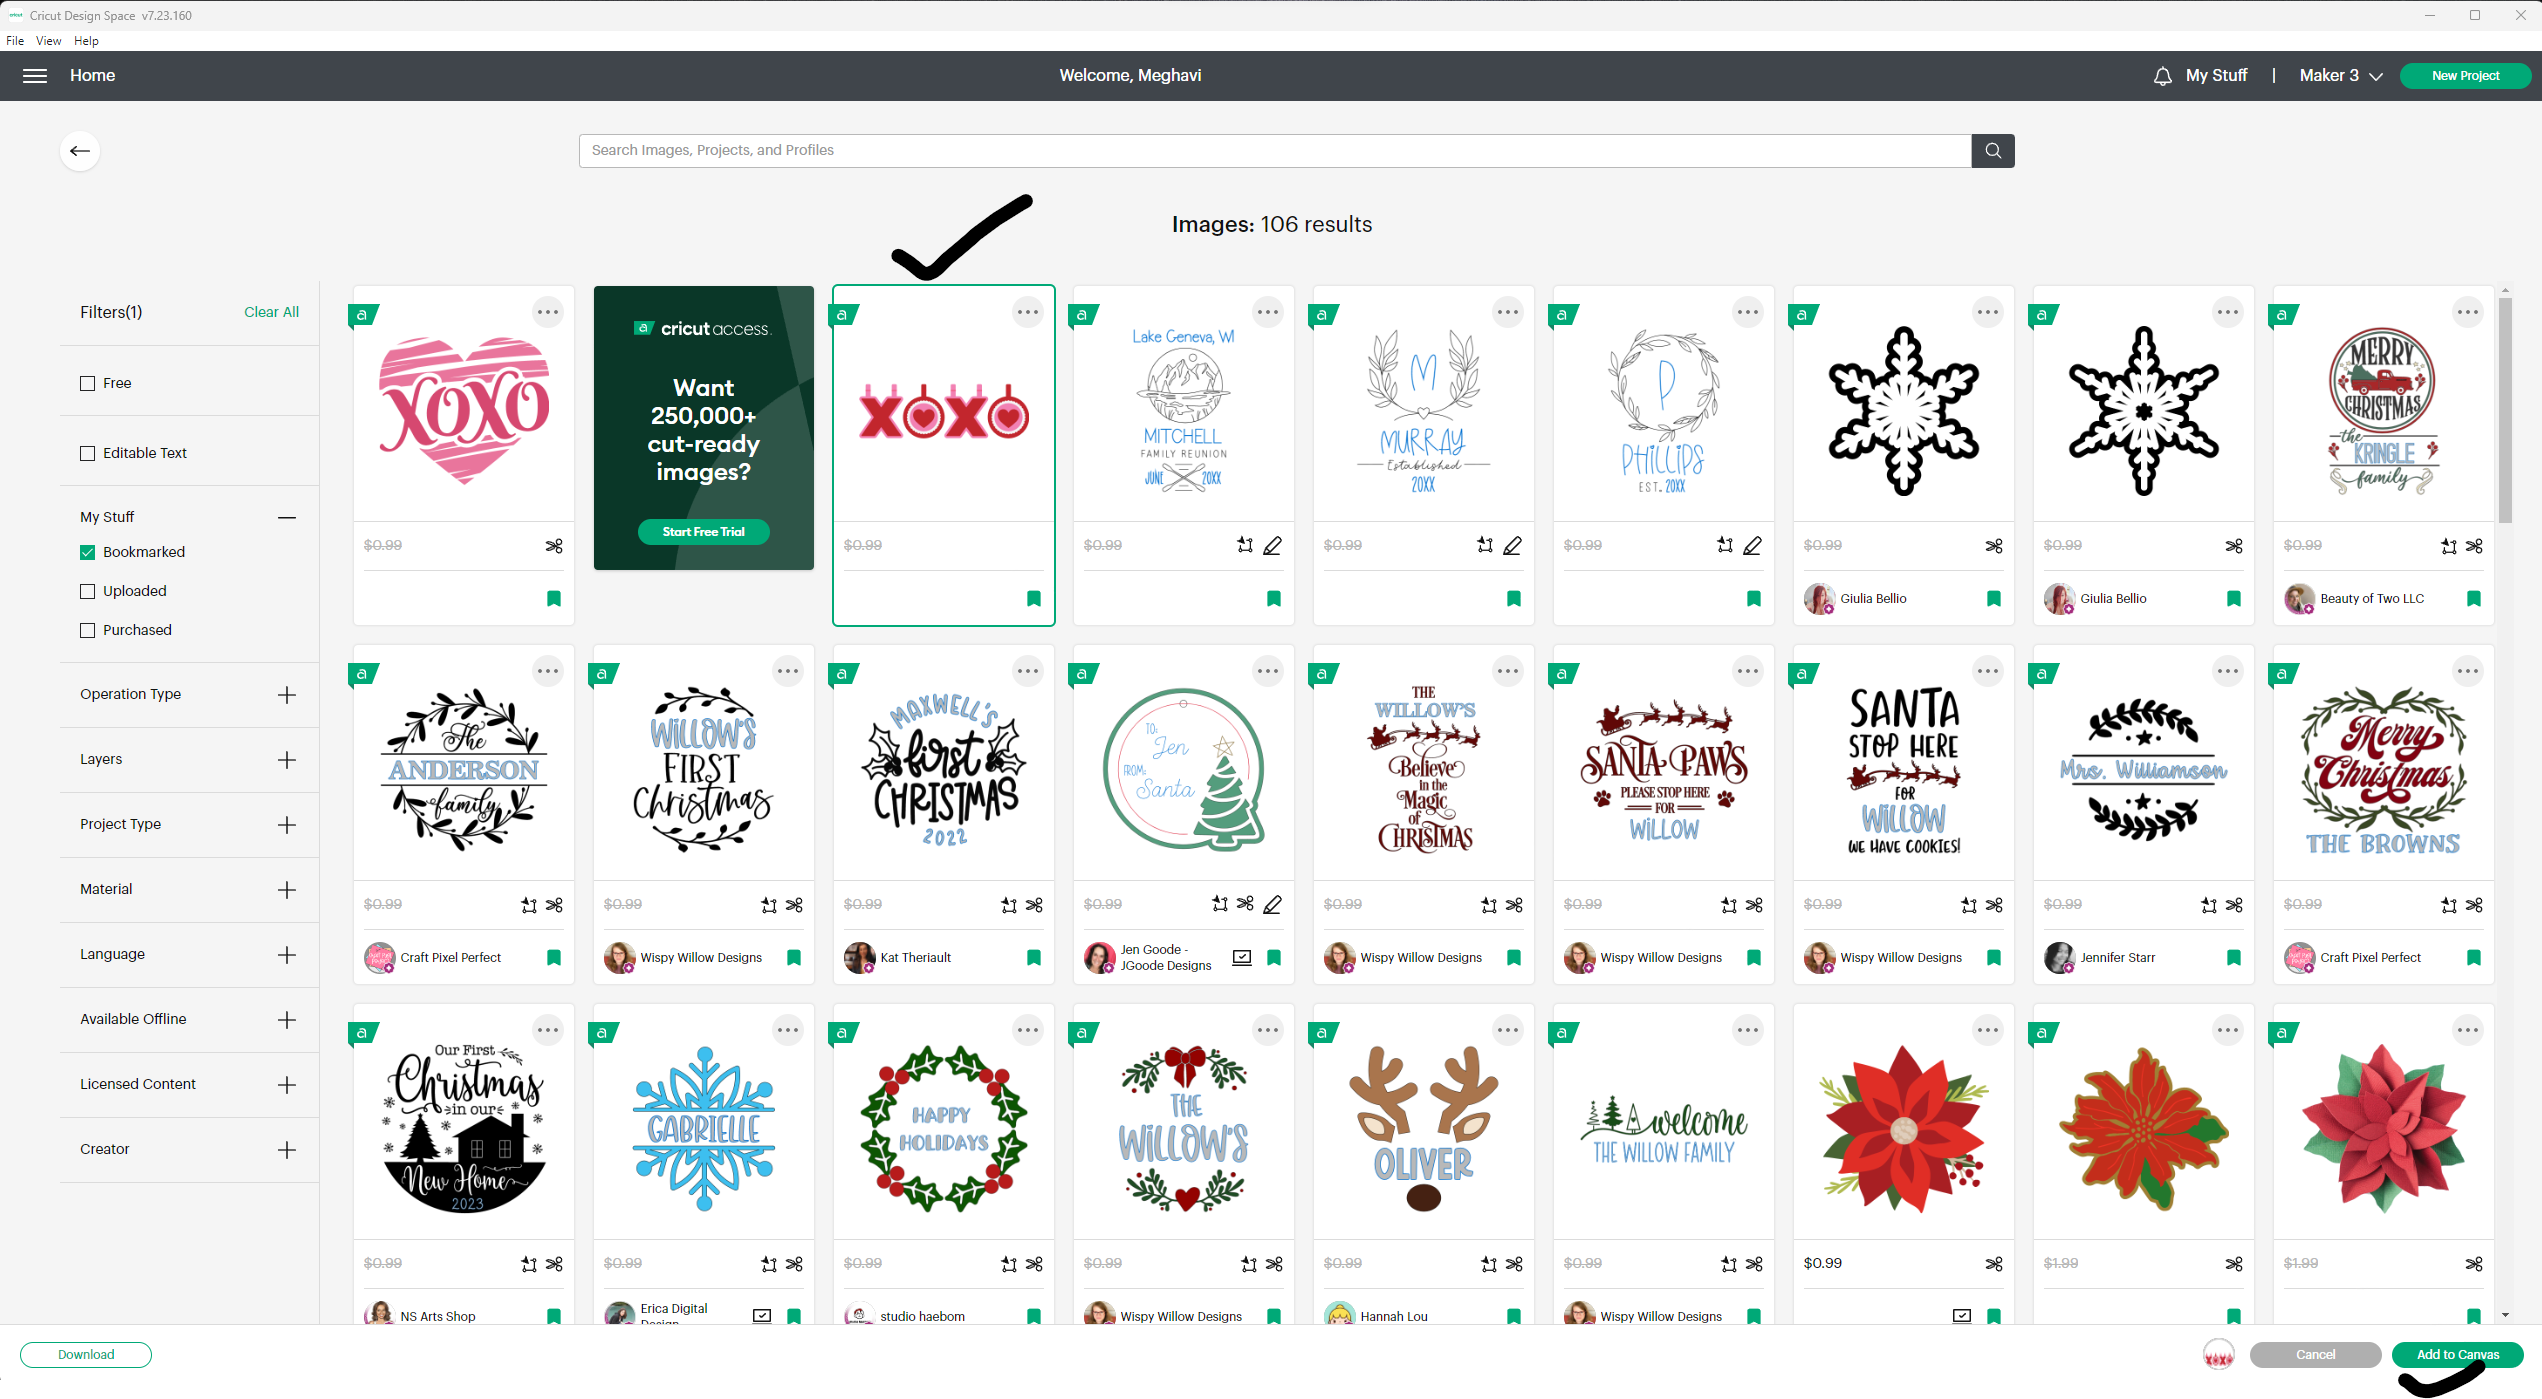
Step 3: Click “Make It”
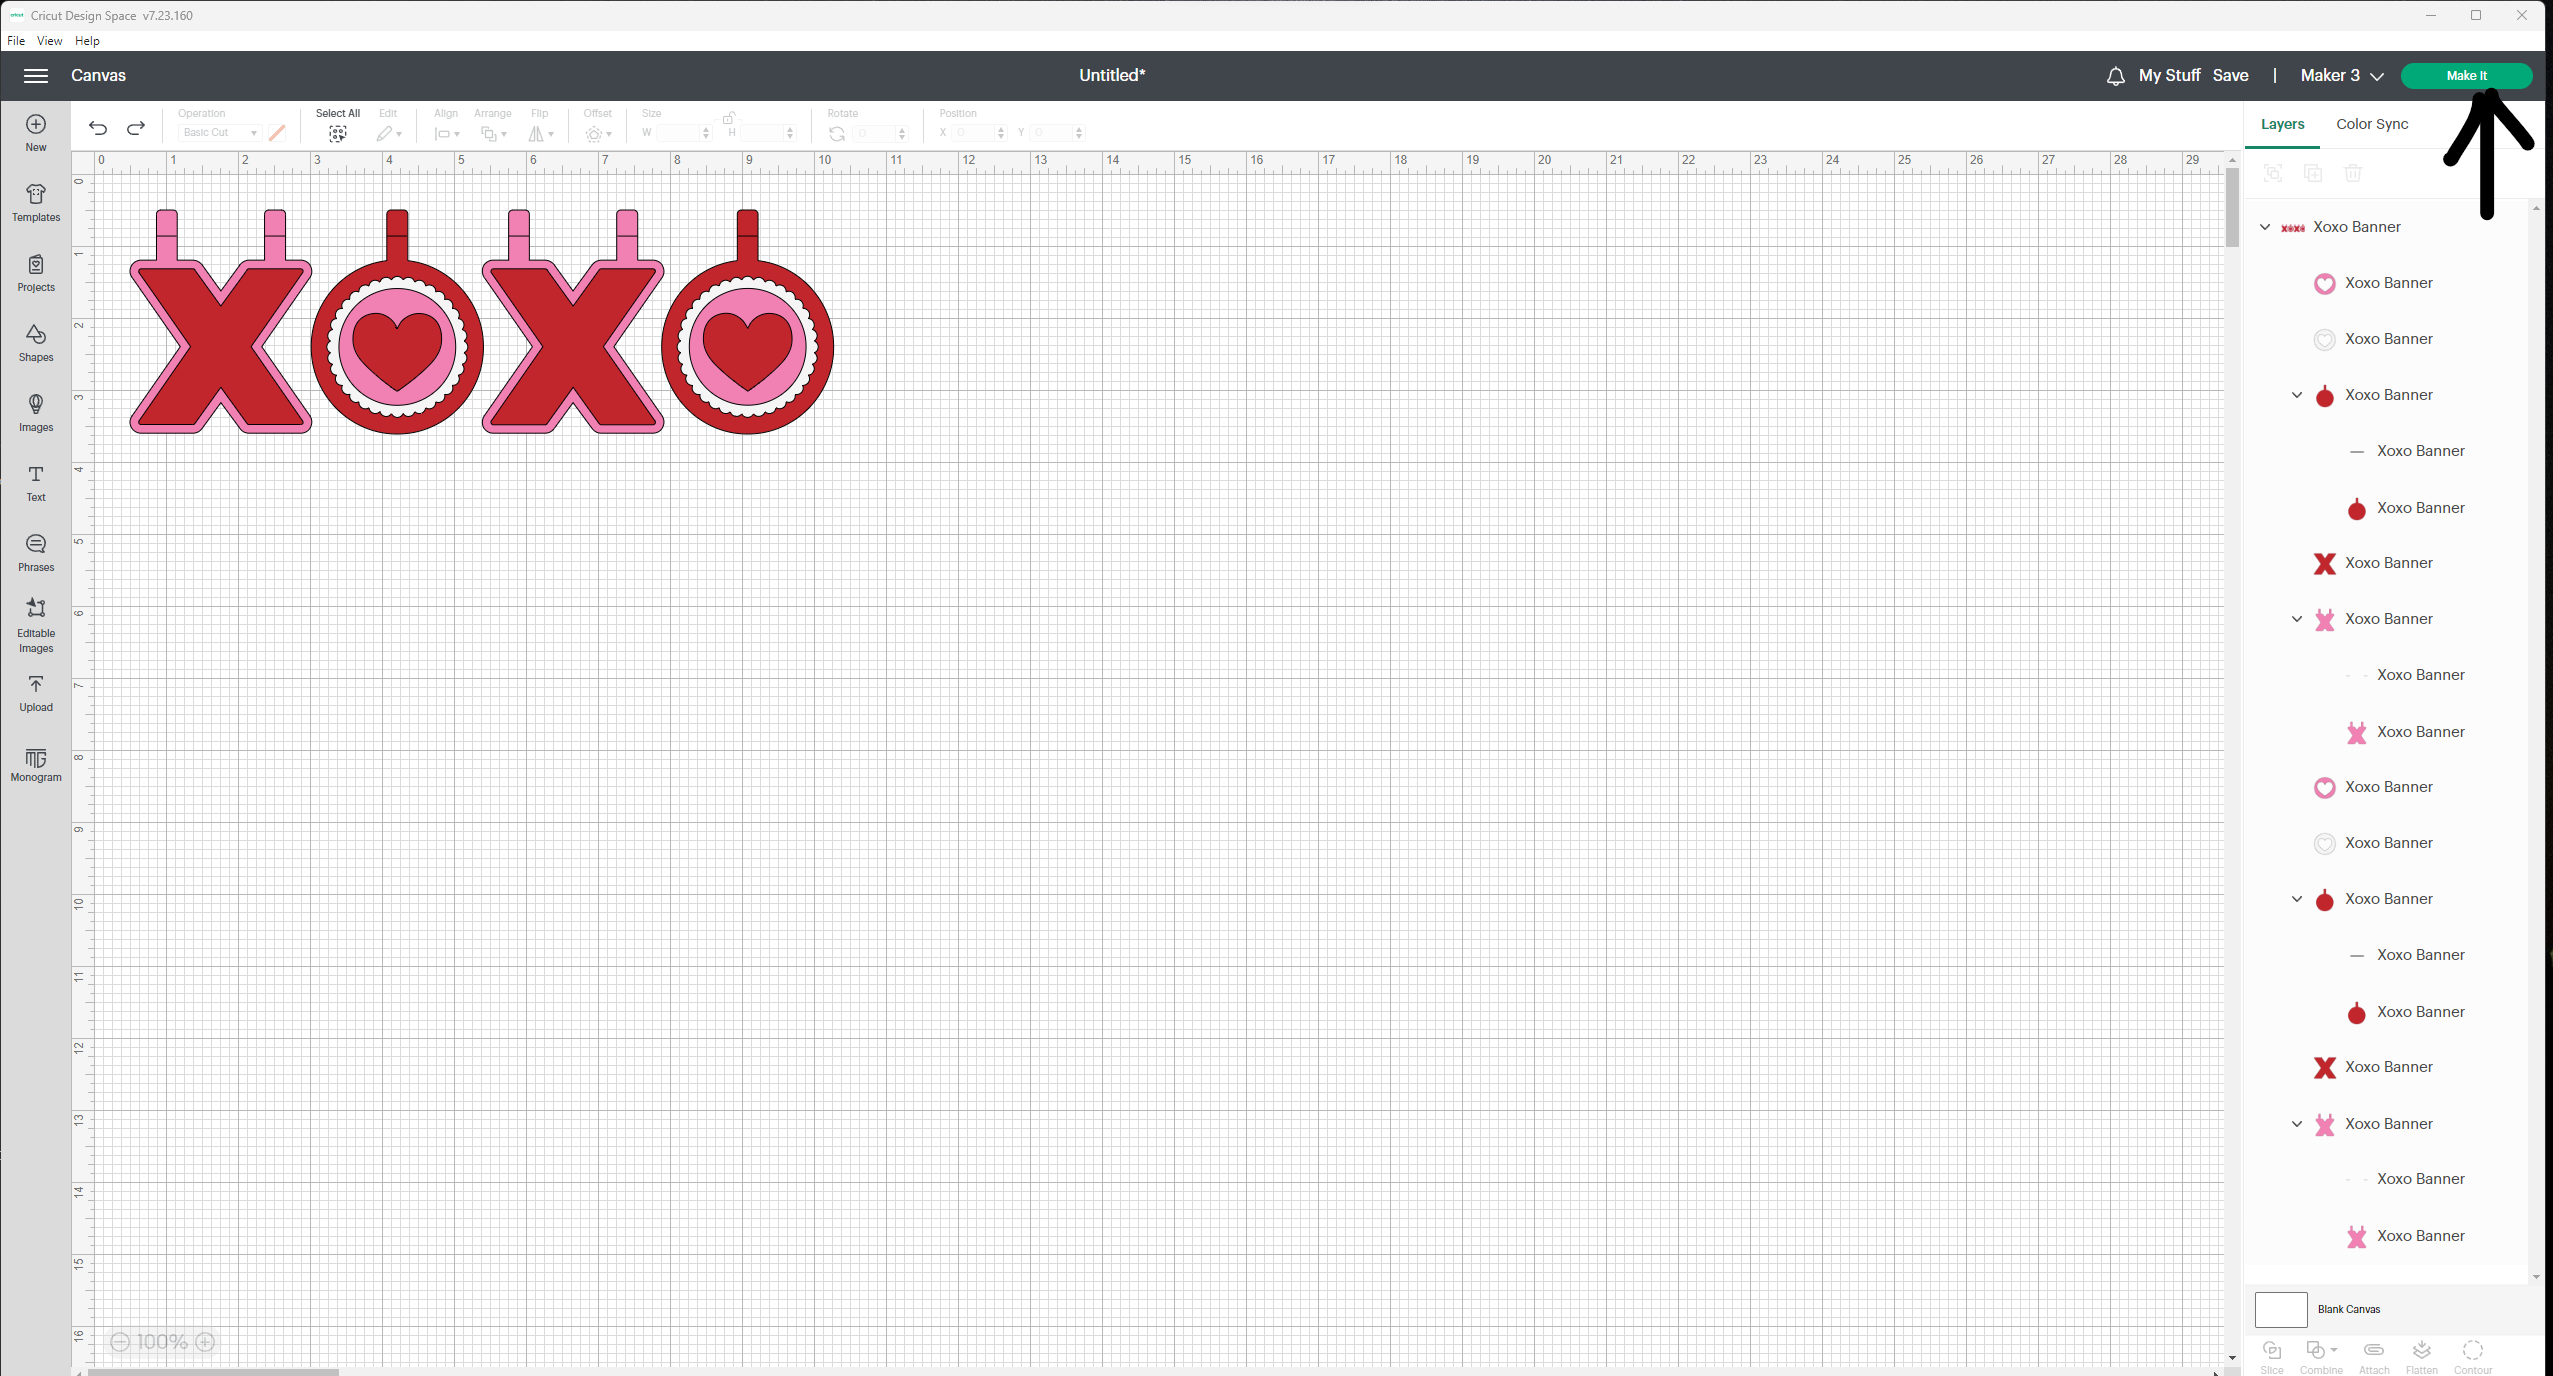
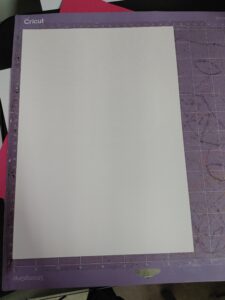
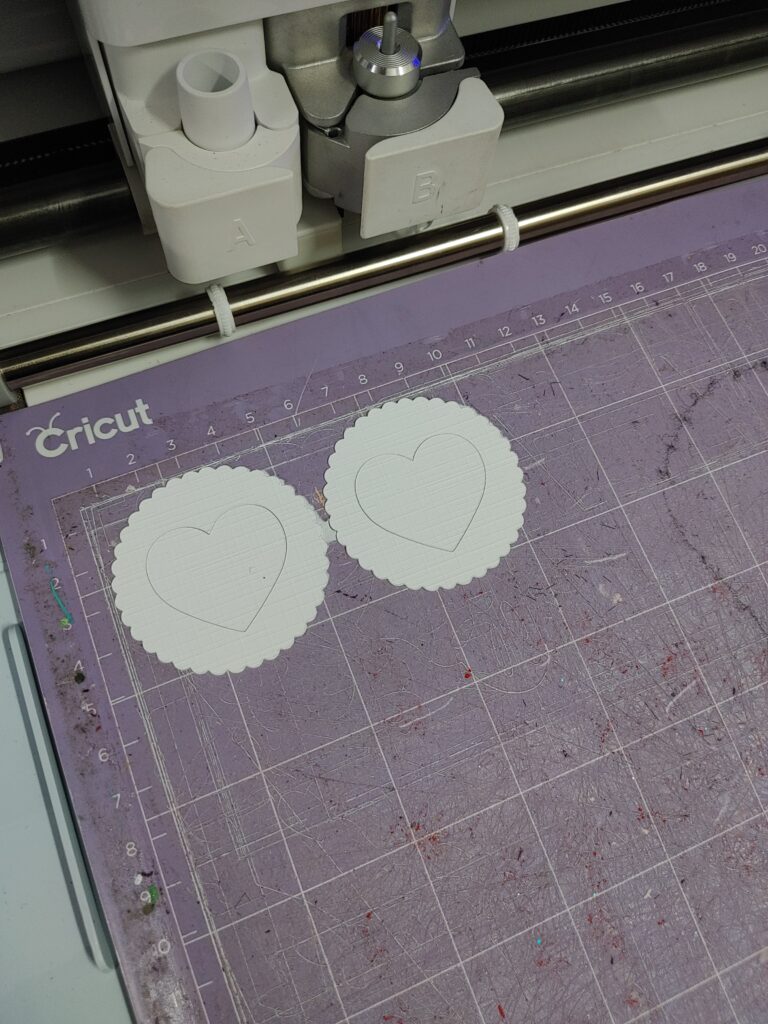
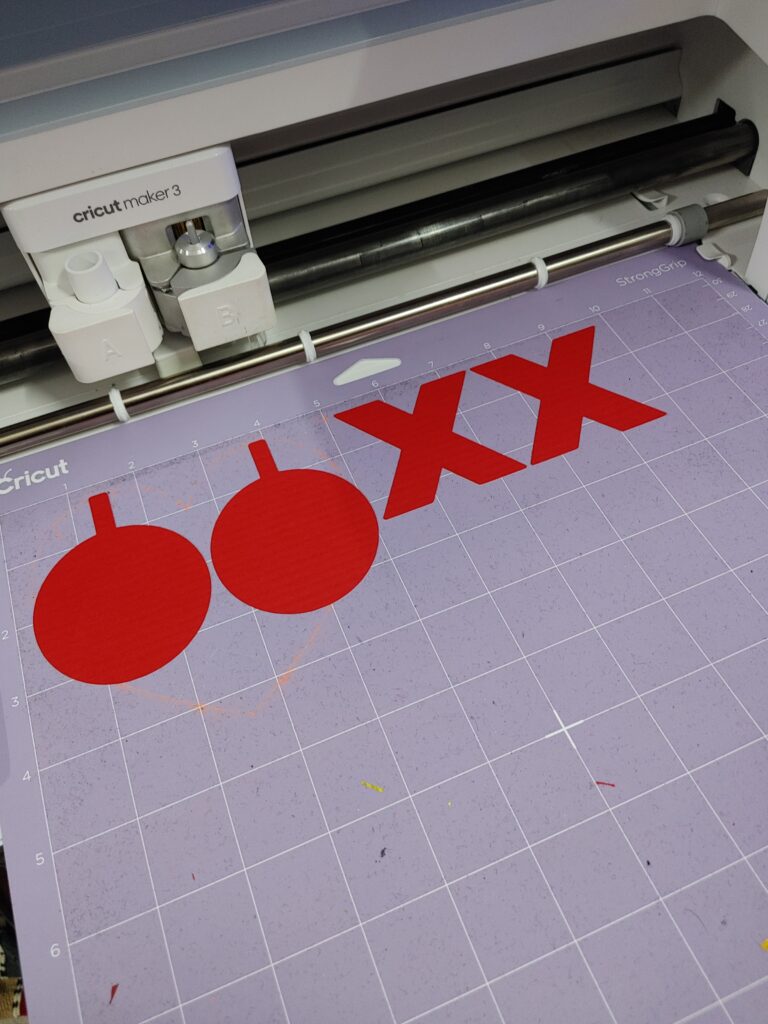
Step 4: Align your paper on the mat as per the diamond shown on the mat on the screen and click protract at the marrow right corner of the screen.

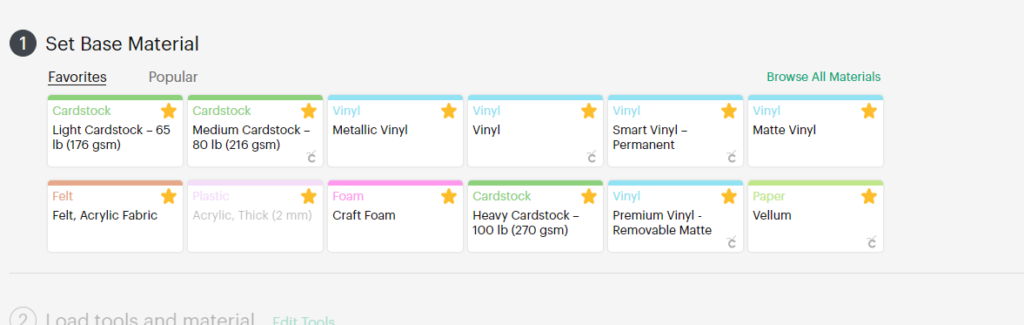
Step 5: Select the material as medium cardstock and make sure the correct tool is loaded in the clamp. Press the flashing Load sawed-off (double arrows facing up and down) to feed the mat. Then click the flashing Cut sawed-off (single thunderstroke towards the right) on your machine.
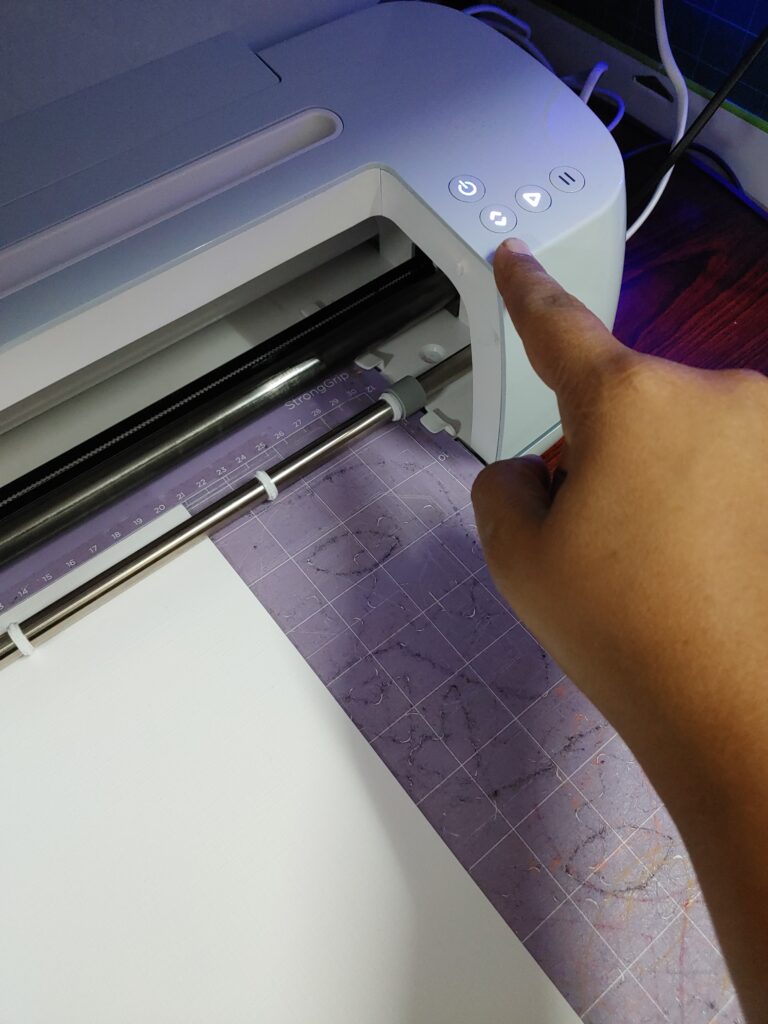
Step 6: After the cut is finished, then click the flashing sawed-off to unload the mats and remove the paper from the mat. Repeat this for all the 3 verisimilitude papers.
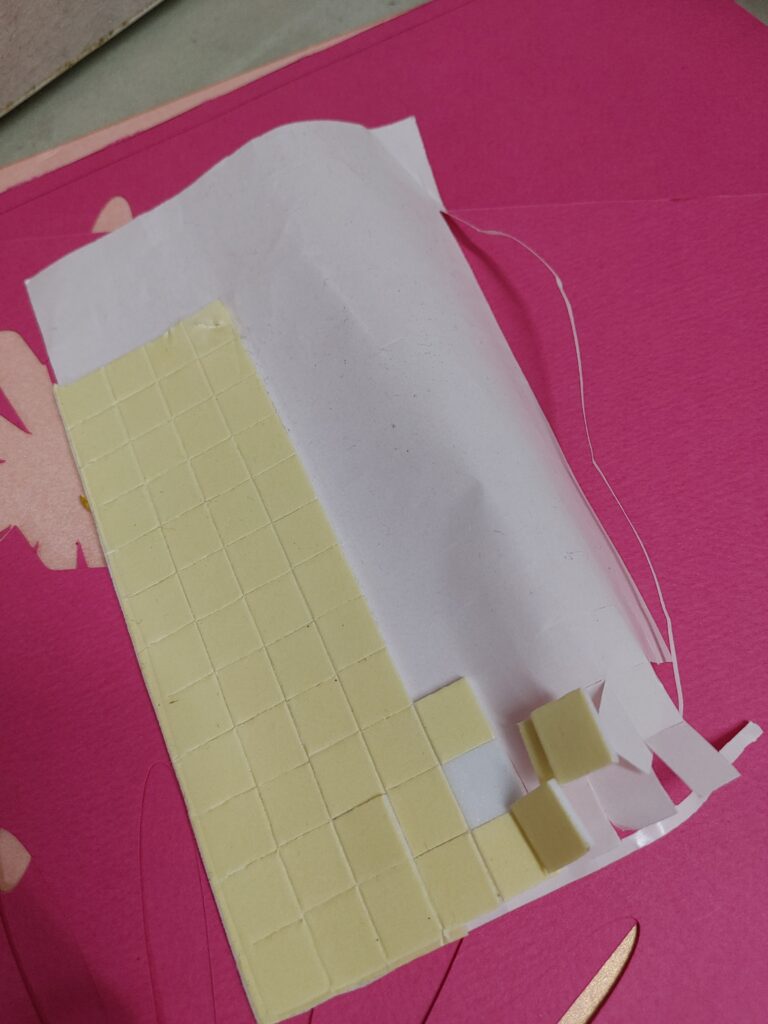
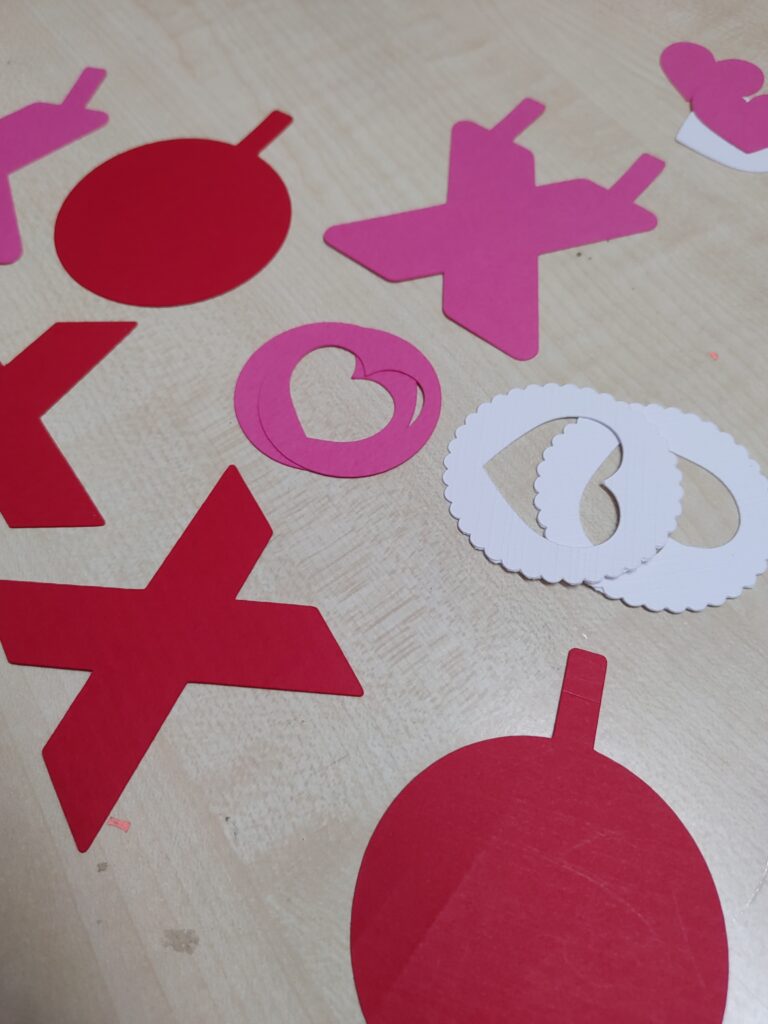
Step 7: Collect all the cut pieces and start to hoke them one over the other as per the project using the foam tape or glue as per your choice.
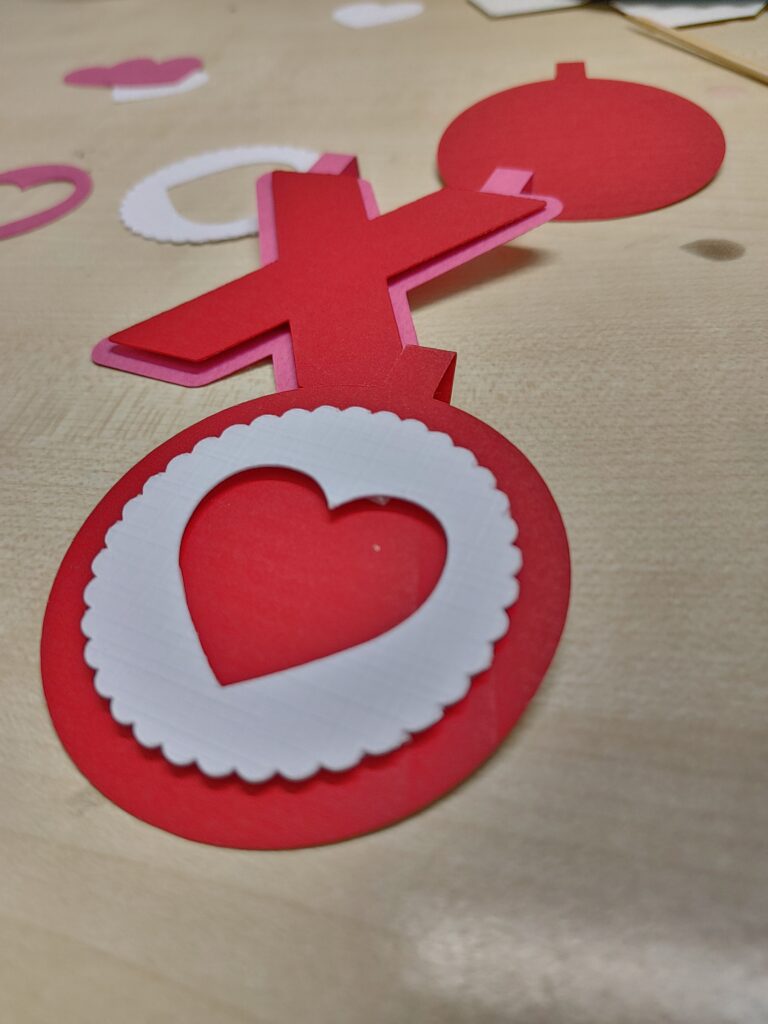
Step 8: Stick them over a rope or a Skewer and your hanging is ready!
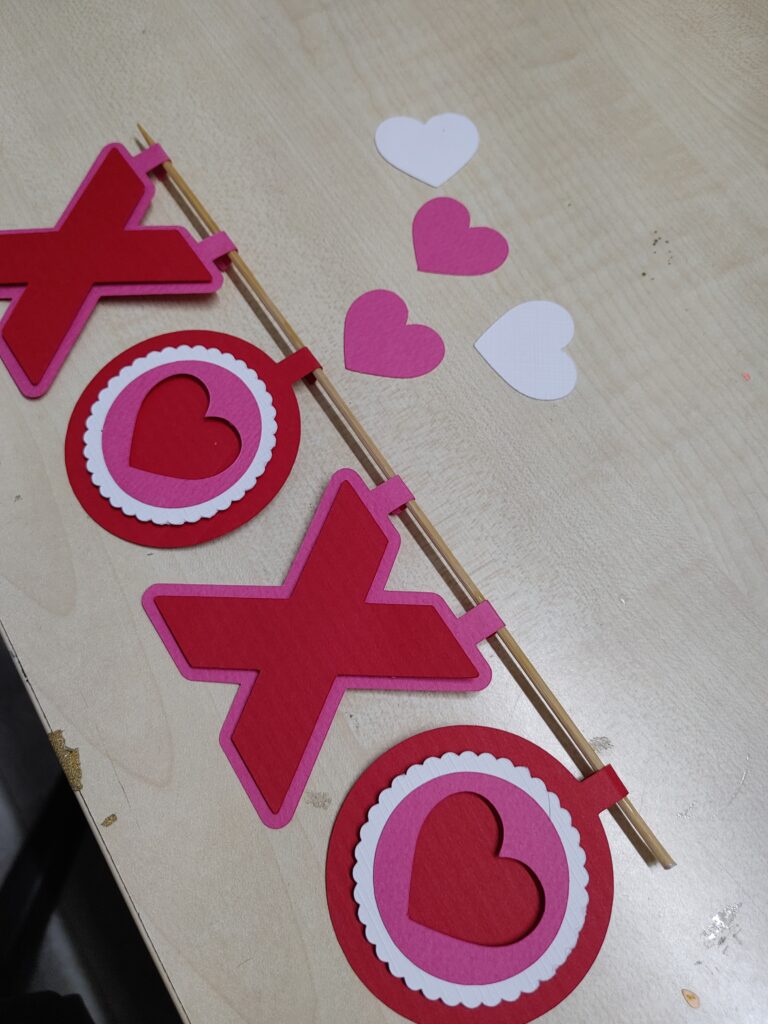
Step 9: You can wrap the skewer with some thread or wool if you need or you can stick the pieces on a rope alternatively.
The project is super simple and quick when you have an wondrous tool at your disposal.
Other Articles
Next

June 09, 2023
Christmas Cards Under 10 Minutes
Previous
October 10, 2022
Ten Mental Models for Learning


